Storage Procedures
Given that Ferraris are prized possessions, owners tend to take care of them and hold a higher standard to preserve and maintain them. Equally important to the maintenance tasks required by the vehicles (to keep them running in top shape) are storage maintenance procedures. In this section of the article we will dive into the generally accepted current best approach for prolonged storage of the vehicles. We will discuss storage environment & environmental preparations, fuel and fuel system storage readiness, fluid readiness procedures, washing & protection practices, battery preservation, tire preservation, insurance policy recommendations, and the condition to leave the car in.

Ferrari 458 Italia and a 458 Speciale Aperta.
Storage Environment:
Whether utilizing a temperature controlled storage area or not, the environment the car will be stored in must be clean, low moisture, low light (especially avoiding UV), and ideally have electrical outlets. Ideal flooring is a hard-finished flooring (concrete, wood, tile) and avoid unfinished bare earth. In addition to hard-finished flooring, it is recommended to place a moisture barrier (tarp or plastic sheet) under the car to avoid moisture permeation through the ground to the car. A general good to do but not a must is to have a white tarp or sheet under the car above the moisture barrier to act as an indicator for any fluid leaks with ease of identifying the color of the fluid. General theme is to have a clean and dry environment for best preservation practices.
Part of environmental storage readiness is pest control / prevention. In the process of cleaning and getting the storage environment ready, look for indications for the presence of pests. Starting with a clean slate will allow you to spot difference or new indication of pest presence later. The first line of defense is pest prevention. Start by placing a few moth-balls in the storage unit in attempts to repel mice and other rodents. This is sometimes not recommended due to the lasting nature of the smell. This is a suggestion that may be played by ear depending on the size of the storage area (in regards to concentration of the smell in the area). It has been said that cotton balls dipped in tea-tree or peppermint oil can act as a repellant as the scent diffused can also help in deterring rodents. Place drier sheets within the vehicle as further measures for repelling pests. The second line of defense is pest control. Place traps inside the garage (but not inside the car, you do not want a dead rodent inside the vehicle) in addition to poison (keeping in mind the safety of house pets and younger children. The line of defense is to take measures to “rodent proof” the vehicle. Place aluminum foil or some barrier over the air-intakes to prevent rodents crawling into the vehicles HVAC system. Covering the vehicle with a car cover can also be used as a further barrier. Steel wool or tennis balls can be used to plug the exhaust to prevent rodents from crawling through the exhaust system. Having a string or wire tethered to the steel wool or tennis balls will insure ease of removal when taking the vehicle out of storage.

Enzo Ferrari.
Fuel & Fuel-System:
Depending on the length of the “prolonged” storage period, it may be worth adding a fuel stabilizer to the fuel system to prevent degradation of the fuel. Ideal fuel to use would be premium 100% gasoline (avoiding fuel containing Ethanol as it is corrosive to rubber and plastic in the fuel system and can release water if degradation occurs over prolonged storage). Assuming you have located a convenient gas station that serves Premium Ethanol free 100% gasoline, the fuel stabilizing procedure is as follows:
1.Starting with a near empty tank add the fuel stabilizer. (Equipment that may be useful would be rubber gloved for your protection and a funnel for the cars protection). Most fuel stabilizers have a “built in funnel” in the design of the container. Know the volume capacity of your vehicles gas tank and read what the stabilizer you’re using states for stabilizer to fuel ratio (i.e can state 300 ml will stabilize 20 gallons as an example, then do the math for you tank). Stabil is a widely used and recommended brand of fuel stabilizer. It has a “service period” of 2 years (max) once applied.
2.Fill the car with the recommended gasoline (again aiming for Premium Ethanol free 100% gasoline). Filling the tank POST adding the stabilizer will insure more thorough mixing of the fuel stabilizer with the fuel itself.
a.Note: If Ethanol free premium gasoline is not available in your area, it may be worth considering using Marine Stable as it will help deal with the Ethanol in the fuel.
3.Plan on driving the car for 5-20 minutes after filling up with the intent of having the fuel-stabilizer mixture working its way through the fuel system.
4.Fuel System pressure relief (if elected): Start the car up, with the engine running disconnect the fuel pump wiring harness. This will cause the car to sputter and the engine to shut-off. This indicated the lack of pressure in the fuel lines.
Fluid Readiness Procedures:
Start off by replacing any fluids that may require it (whether it be driven by mileage or time based maintenance on the car). This can include changing the oil and oil filter, brake fluid, hydraulic clutch fluid, coolant (anti-freeze), and windshield washer fluid. Special mention: over repeat prolonged storage, brake fluid can become gummy, resulting in difficulty flushing it out. Engine oil changing requirements prior to storage may differ depending on the type of oil used. Synthetic oils remain stable in the engine for longer periods than non-synthetics. Fogging the engine (i.e spraying a light mist of lubricant into the air intake) can be done for an extra measure of corrosion resistance on the intake valves and cylinders. Misting or Spraying in WD-40, conventional motor oil, or other penetrating oils into the intake while cranking the engine can achieve these measures. You can turn the engine crankshaft over by hand by attaching a sprocket and wrench to the crank pulley bolt (4-6 times) to circulate the oils. Fogging is not necessary for short seasonal storage, but may be useful for longer term storage. Worth noting there are non-alcohol based fuel additives on the market that achieve this purpose, just follow instructions on the product packaging.
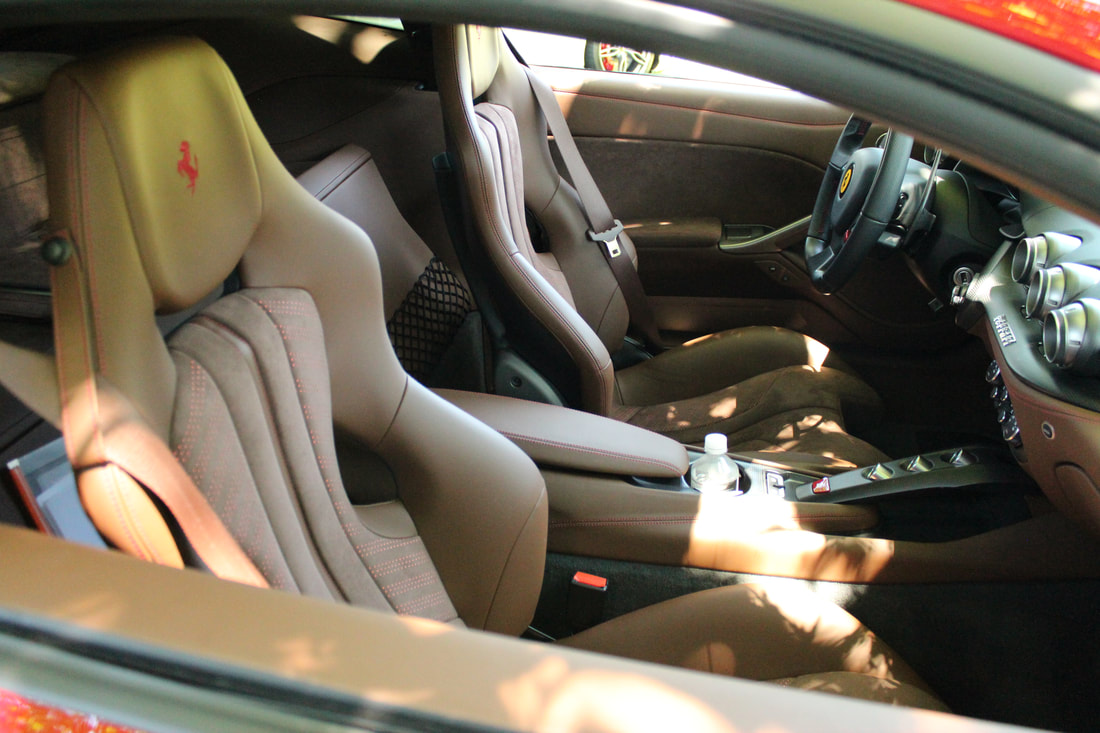
Ferrari F12 Berlinetta Interior.
Washing & Protection:
Interior: Cleaning the inside of the car prior to a storage period is incredibly important and serves multiple purposes. Ridding the interior from foreign material than can degrade over time prevents the release of odors in car (especially important as airflow / circulation will be virtually null during the storage period). Additionally, any remaining food scraps and particles can attract rodents and entice them to find a way into the vehicle, so it is important to do a thorough run through and vacuuming of the interior. Steam cleaning is an option, however one that must be done ahead of time enough to allow access moisture introduced by the steam cleaner to be released out of the car. Giving the cabin time to reach normal humidity / moisture levels lowers the likelihood of mold forming. If applicable, apply leather rejuvenation compounds (of your choice, making sure they are well reviewed and rated) to leather surfaces in the vehicle. This can be later wiped off and cleaned out when the vehicle is coming out of storage. Removing carpets from the vehicle to prevent them from getting musty during storage in warmer climates or heated garages is an option. Managing the moisture level in the vehicle is important to decrease the chance of degradation / odor. Placing desiccant packs (desiccant is a hygroscopic substance that wicks up moisture, essentially a drying agent) in the cabin will help lower humidity levels. Place baking soda fridge packs (ideally in a not easily tippable container) to control odor inside the vehicle. There are purpose made products if you’d rather than using baking soda. Using a conditioner (such as 303 Aerospace, product / brand name) can help protect vinyl surfaces and rubber gaskets. Avoid using products that are water based or contain access water as this will increase the relative humidity in the vehicle.
You can see the overall theme here is to leave a clean cabin free of contamination that may release odor or attract pests as well as controlling (to lower) moisture levels in the vehicle.
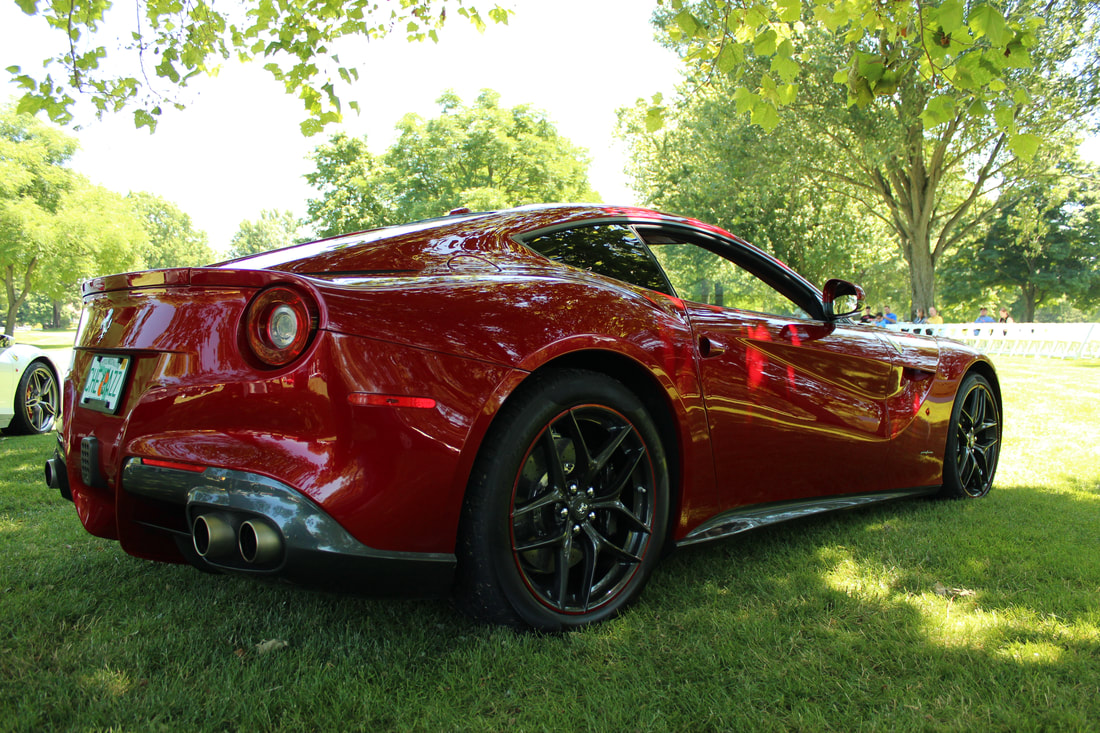
Ferrari F12 Berlinetta.
Exterior: Giving the vehicle a thorough hand wash as well as applying a wax coat to the paint and polishing any chrome surfaces is a strong start to the exterior conditioning for storage. In the name of thoroughness, do not overlook any painted surface (such as door jams and underside of the hood / trunk). If you’re up for it, fully detail the vehicle making sure to rid it of any contamination prior to applying a wax coat. Pay particularly close attention to ridding the paint surface from contamination such as tree sap and bugs (as they may have a lasting impact on the clear coat and paint of the vehicle). There is a plethora of cleaning videos and how-to tutorials on line so we will not cover the “best methods of cleaning” but rather suggest you do a thorough cleaning and ask you to search for proper cleaning techniques and habits online (I suggest looking up AMMO NYC on YouTube).
For unpainted surfaces that are prone to rust, you can apply a rubberized spray on coating taking caution to avoid application onto exhaust components or other components than can reach high temperatures, aerosol can be flammable. WD-40 is also a viable alternative. Remove dirt and grime from the underbody, focusing on the wheel wells as that is where it will accumulate the most. Clean the wheels and get rid of dirt, grease, and tar that may have built up.
Once the car has been washed thoroughly, it is recommended to use pressurized air to blow water from the crevices of the car body. If pressurized air is not available take the car for a drive to achieve the same result. Make sure to allow all temperatures to get up to operating temperature to evaporate off any water condensation prior to shutting the car off.
Battery Preservation:
Depending on the model, the vehicle may come with a battery disconnect/kill switch. If you so choose, you can disconnect the battery however please do check that this is required / appropriate for your particular model. Disconnecting the battery can be done by disconnecting the cables (ground first). Upon removal of the battery, it is advised you place it in a temperature controlled environment. Connect the battery to a battery tender/preserver (not trickle charger). You can leave the battery in the car and hook it up to a battery tender through the hood of the car. This will avoid the possibility of confusing the onboard computers and will maintain the performance of the battery.
Tire Preservation:
Given the car will be stationary and its weight settled on the same spot on the tires, flat spotting deformation of the tires may occur. This can be avoided by taking a few simple precautions. Inflate the tires 5-10 psi higher than the recommended operating pressure. Parking the vehicle on race ramps flat-stoppers or "arc-ramps" can help preserve the shape of the tires. Tire rubber is malleable, so it is worth noting that deformed tires do return to form after some driving once taken out of storage. Note: one can lift the vehicle to take the weight off the tires and slow the aging of suspension components, however its recommended you spray a protective coat of WD-40 on the exposed shock cylinder now that it is not bearing any weight. If you elect to not lift the car it is also an option to vary the part of the tire bearing the weight of the car by parking it at one end of the garage and pushing it enough to the other end to get a new contact patch of the tire to the ground.
Parking Brake & Gear Selection:
Avoid engaging the parking break as this may lead to creep-fatigue of the components over time and will avoid the pads sticking to the rotors. For automatic transmission cars, place the car in park. For manual transmission cars, leave the car in neutral and place a chock under the tires to prevent movement.
Insurance Coverage:
Depending on your vehicle, your policy, and change allowances it may be a good option to drop liability and collision but maintain comprehensive (fire, theft, act of God..etc) during the storage period (however remember to activate the full policy when taking the car back out of storage). Its never recommended to completely cancel insurance on a vehicle, even if in storage, as you do not have 100% control over what happens around the vehicle and the gap in coverage may yield increased rates upon renewed coverage. Always check with your insurance provider prior to changing policies for storage.
Condition to leave the car in:
After doing the above (or portions of the above) list of items that you deem necessary, place a good quality car cover on (if you have one) and let the car be. Note: If you do not have a quality car cover do not cover it with a canvas or tarp as they may lead to scuffs or scratches to the paint. We recommend you do not start the vehicle up unless you intend to drive it an adequate distance sufficient to get temperatures up to operating range. Leave the HAVC on AC / recirculate mode. Apply a film of rubber lubricant to the wiper blade squeegees and place a rag under the blades to prevent them drying / sticking to the windshield. Lastly keep a log / place a note for yourself and place in the car highlighting the storage step you did to have a clear checklist of what needs to be "undone" when taking the car out of storage.
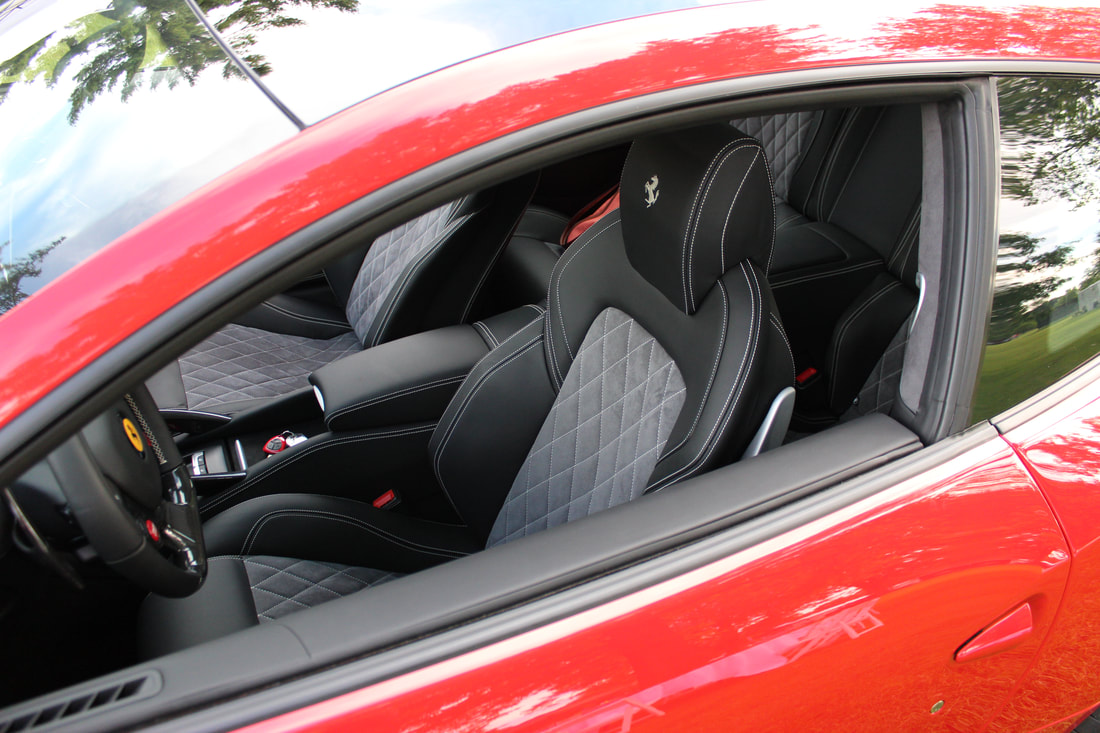
Ferrari FF Interior.
Procedure to take car out of storage
The procedure to remove a vehicle out of storage is just as important as the storage checklist procedure, but thankfully less effort intensive. The procedure will be based off of your storage checklist which depends on what storage checklist items you elected to do. To be thorough, we will make the assumption you executed all storage procedure tasks and will write up the appropriate start-up checklist.
Battery:
Check the condition of the battery and execute a visual inspection for any damage or signs of corrosion. Make sure the battery is fully charges (by checking it's status on the battery maintainer or tender). Boosting the car or attempting to start it up on a half drained battery is not recommended. If the battery was not maintained, hook the battery up to a battery tender for 24 hours prior to connecting it to the car. Once ready, connect the battery to the car by connecting the positive wire first.
Fluids:
Check all fluid levels and make sure they are at appropriate levels. Depending on type of motor oil used (synthetic vs non) and the age of the oil, perhaps plan on changing the oil within the week of taking the car out of storage. Small the oil and gauge if it smells like gasoline. Oil Fuel Dilution is a problem that can thin out the oil. As little as 2.5-3% Fuel Dilution can change the viscosity of the oil by a full "grade" (Total Oil has an excellent article on this). Oil Fuel Dilution can be caused attempting to start the car on a semi dead battery (extra cranks lead to unburnt fuel), access cold starts without allowing the car to reach operating temperature may lead to access fuel in the cylinders, or worst case scenario a leaky fuel injector. This is another potential reason for changing the engine after storage. Check all other fluid levels and make sure they at range levels.
Vehicle Condition:
Carry out a visual inspection of the vehicle. Look for any signs of pest damage outside and within the car. Look for any droppings or damage due to chewing or nesting. Inspect the key mechanical components prior to starting the car up. Remove all intake covers, exhaust plugs and desiccant / moisture wicking materials from the cabin. Wipe off the leather rejuvenation cream with a microfiber towel.
Check the brake pedal for feel and make sure it is not loose (indicating a loss of pressure, thus a leak). Bring tire pressures back to recommended rating. Inspect the tires for cracking or bulging of the side walls.Check the windshield wipers for cracking or sticking.
Inspect the underside of the vehicle and any tarps you may have placed under it for leaks or seeping. Visually inspect the brakes an make sure the pad and rotors are in good condition. Visually inspect the suspension components and make sure they are still in good standing condition. Start the vehicle and check for any fluid leaks while the car is running. Look for potential smoke that may come off the components as they heat off, may indicate a fluid leak somewhere not visible. Give the car time to warm up and reach a smooth idle. Meanwhile, check the lights and horn to make sure they are functioning properly. Drive the vehicle slowly initially for the first several miles. After the first drive, inspect the vehicle once more to see if any leaks sprung up. Clean your car cover per the manufacturer recommendations as it may have collected dust over the duration of the storage period.
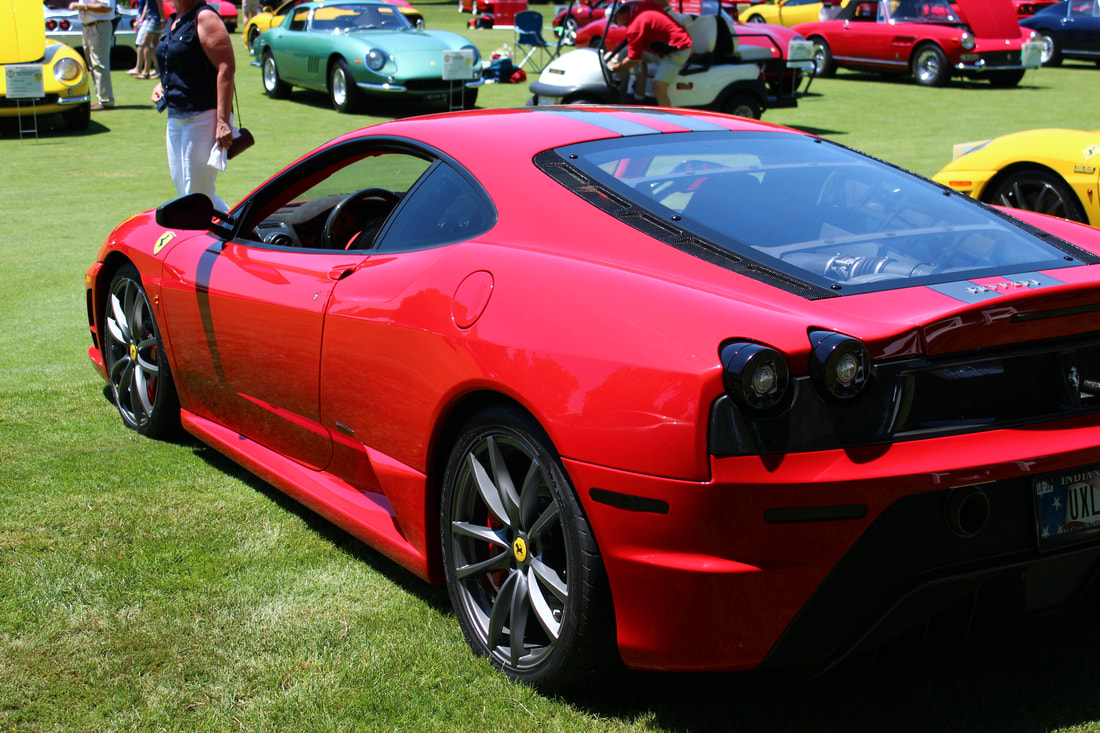
Ferrari 430 Scuderia.
Back.